
INTENTIVE shortens B2B sales cycles and simplifies life for both marketing and sales professionals. By delivering unparalleled business insights via buyer-level intent signals and behaviors, INTENTIVE truly accelerates sales outcomes. But none of this matters unless you’re able to actually get your hands on the buyer-level intent insights the platform offers.
The information INTENTIVE records, aggregates, and presents to users is some of the most actionable across the B2B world. So how can these insights be put into action?
Quick Start Guide
In Salesforce:
- Install the Salesforce Managed Package:
- https://login.salesforce.com/packaging/installPackage.apexp?p0=04tDp000000qTjd
- Grant Access to All Users
- Approve Third-Party Access
- Update Permissions for Canvas App Access
- Open the “INTENTIVE Connected App” in Manage Connected Apps.
- Add access via your existing Profiles and/or Permission Sets.
- Open Edit Policies and change Permitted Users to “Admin approved users are pre-authorized”.
- Update Settings for Nightly Sync Access
- Open the “INTENTIVE Authentication App” in Manage Connected Apps.
- Open Edit Policies and change Timeout Value to “24 hours”.
- Add Permission Sets for Report Table Access
- Intentive Sales Manager: Can See All Intentive Companies, Link/Unlink Accounts, and View Canvas App
- Intentive Sales User: Can See Only Linked Owned Companies, and View Canvas App
In NetLine:
- Navigate to the Manage Integrations tab in the NetLine Portal.
- Click on the Salesforce logo to authenticate the integration.
- The user that connects the application needs sufficient Salesforce permissions. Using a System Administrator or similar Profile is recommended.
- Add any filters to your integration to control what data is sent to your Salesforce account.
- Activate Data Sync in the NetLine Portal by clicking Submit on the Salesforce Integration Settings page.
- Please ensure that Salesforce has sufficient storage (up to 250MB per Explorer).
Getting Started in Salesforce:
- Open the INTENTIVE Insights Lightning App from the Salesforce App Launcher to get started.
The Home tab shows a summary of Intentive Companies with linked Salesforce Accounts, Account Score, Account Owners, Open Pipeline, and other key information.
The Canvas App view provides a holistic view of the Buyer Journey for a specific Account and can be accessed from an individual Account’s Record Page.
Optionally, these components can also be deployed into your existing Salesforce Lightning Page Layouts. Please see the Full Installation Guide below for further instructions.
Full Installation Guide
1. Install the Salesforce Managed Package
Use the links below to install the NetLine INTENTIVE Insights managed package for Salesforce.
Salesforce Orgs:
Production: https://login.salesforce.com/packaging/installPackage.apexp?p0=04tDp000000qTjd
Sandbox: https://test.salesforce.com/packaging/installPackage.apexp?p0=04tDp000000qTjd
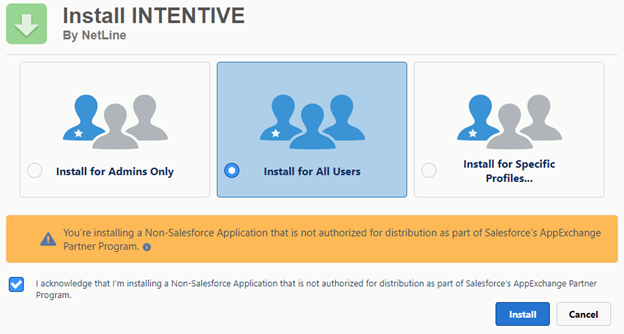
Select the desired users that you will give access to INTENTIVE Insights. Depending on your access requirements, this can be for:
- Admins Only
- All Users
- Specific Profiles
We highly recommend selecting All Users, as access to the INTENTIVE Insights component will be further controlled by Salesforce permission sets.
Agree to the acknowledgement box and click the Install button.
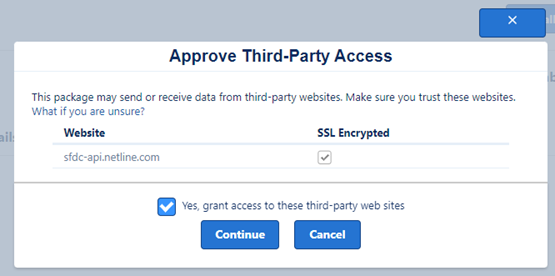
When prompted, Approve Third-Party Access. This is required for the INTENTIVE sync with Salesforce. Click Continue.
2. Update Permissions for Canvas App Access
Go to Setup and in Quick Find, search for “Manage Connected Apps”. Click on “Manage Connected Apps”.
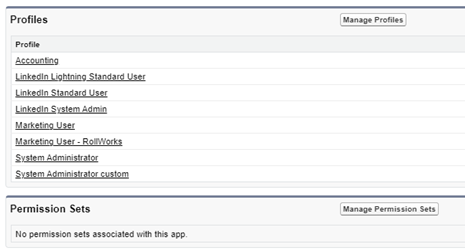
Click on the name “INTENTIVE Connected App” (do not click the Edit button).
To enable access based on Profiles, click on “Manage Profiles” in the Profiles section.
To enable access based on Permission Sets, click on “Manage Permission Sets” in the Permission Sets section. You can use your existing Permission Sets or create new ones.
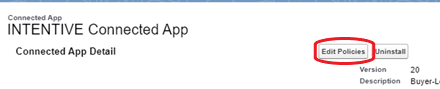
After completing the above, Save and scroll back to the top of the Connected App, and click the “Edit Policies” button.
In the OAuth Policies section, change the “Permitted Users” setting to “Admin approved users are pre-authorized”. Click Save.

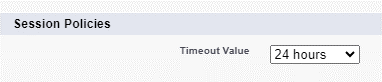
3. Update Connected App Settings for INTENTIVE Authentication App to Allow Nightly Sync
Go to Setup and in Quick Find, search for “Manage Connected Apps”. Click on “Manage Connected Apps”.
Click on the name “INTENTIVE Authentication App” (do not click the Edit button).
Click the “Edit Policies” button.
In the Session Policies section, change the “Timeout Value” setting to “24 hours”. Click Save.
4. Add Permission Sets for Report Table Access
Once installation is complete, assign INTENTIVE permission sets to Salesforce users based on their access requirements.
| Permission Set Name | View INTENTIVE Companies in the Report Table | Link / Unlink INTENTIVE Companies and Salesforce Accounts |
| Intentive Sales Manager | All | Yes |
| Intentive Sales User | Only INTENTIVE Companies that are linked to an Account owned by the User | No |
In Setup > Users > Users, click on the names of each User and assigned Permission sets as required.

Alternatively, you can open Setup > Users > Permission Sets, and click on Management Assignments > Add Assignments to assign the Permission Set in bulk.
For more information about assigning Permission Sets, please see the Assign Permission Set to Users Salesforce Documentation.
5. Connect INTENTIVE to Salesforce in the NetLine Portal
Navigate to the Manage Integrations tab within the INTENTIVE section of the NetLine Portal. 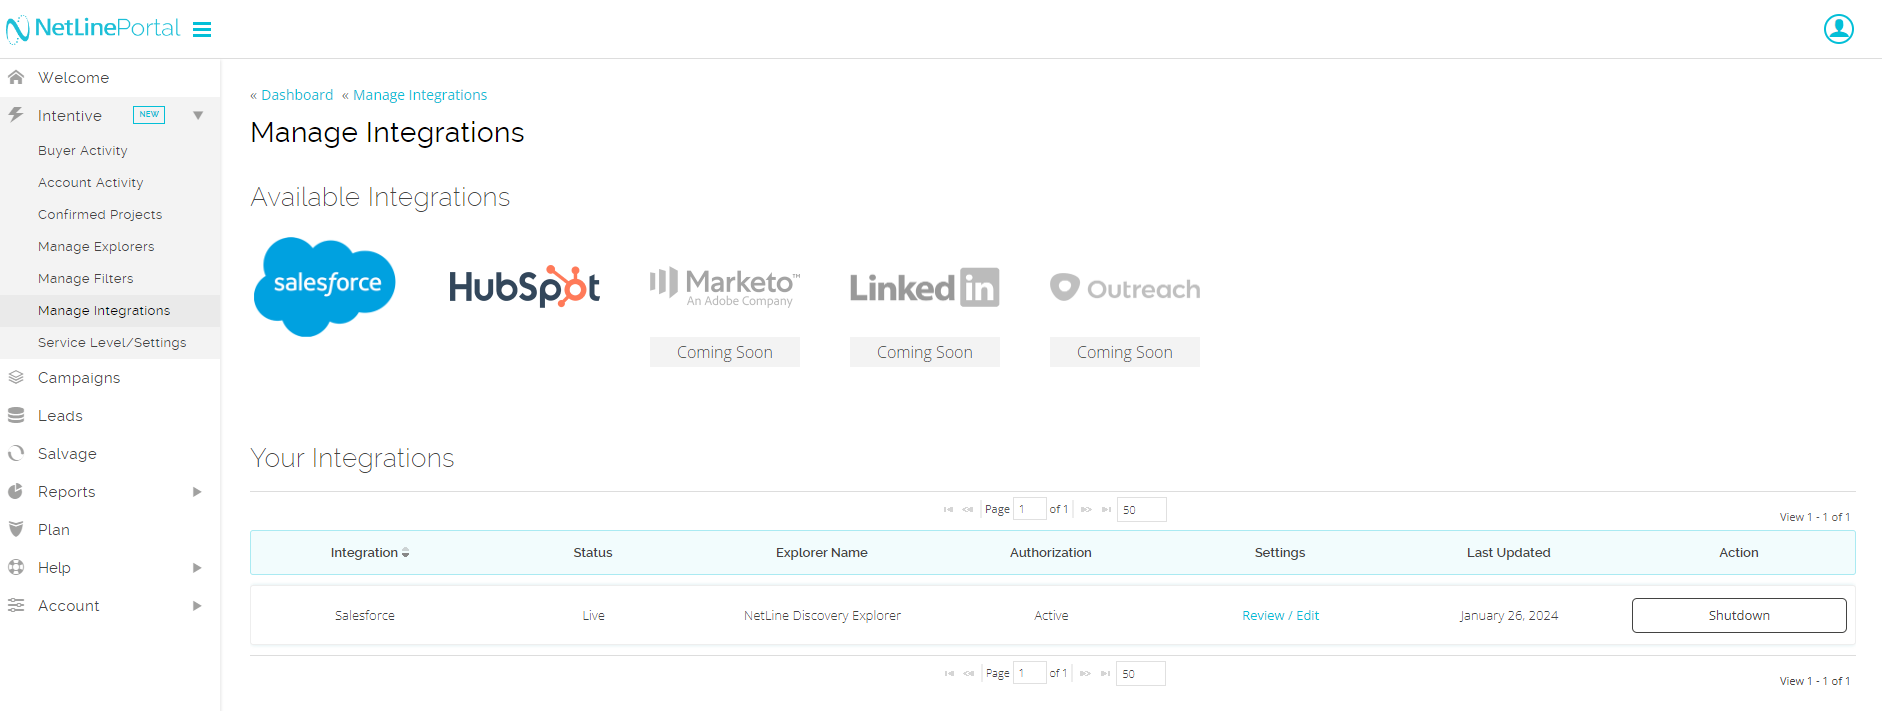
Click on the Salesforce logo to authenticate the integration.
- The user that connects the application needs sufficient Salesforce permissions. Using a System Administrator or similar Profile is recommended.
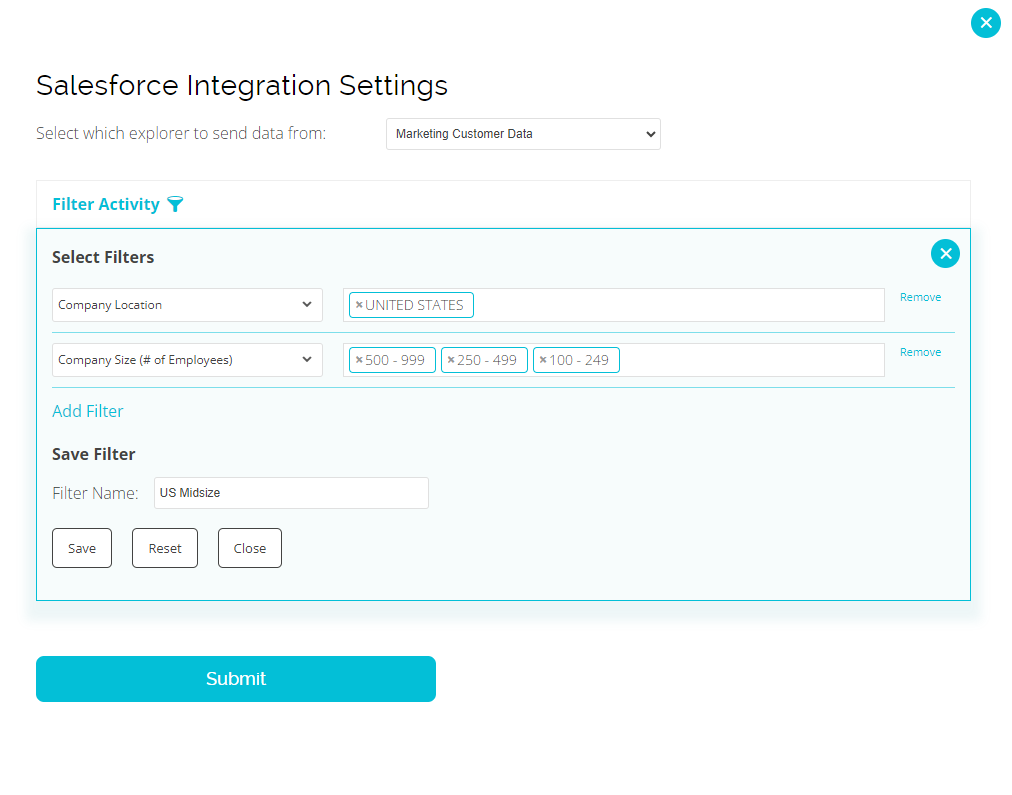
6. Activate Data Sync in the NetLine Portal
Apply any filters (such as your ICP company location, company size) to control which data records get sent to Salesforce.
Note: This filter will only be available for integrations. If you have other existing filters, those will not apply here for the purpose of protecting your data sync to downstream tools.
Data Sync considerations:
- Please ensure that Salesforce has sufficient storage (up to 250MB per Explorer).
- To check Salesforce storage limits, go to Setup > Data > Storage Usage.
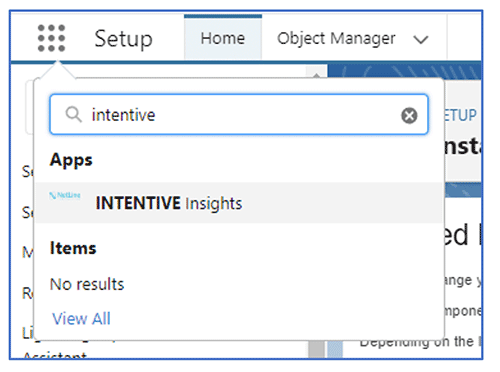
7. Access the INTENTIVE Insights Lightning App
Use the Salesforce App Launcher and search for INTENTIVE Insights. Click on INTENTIVE Insights to load the INTENTIVE Insights Lightning App.
8. [Optional] Add the INTENTIVE Insights Lightning Web Components to Other Lightning Pages
If you would like to add the INTENTIVE Insights Lightning Web Components to other Lightning Apps, you may do so using Salesforce’s Lightning Page Editor.
| INTENTIVE Insights Component Name | API Name | Permitted Deployment Locations |
| INTENTIVE Companies Table | intentiveExplorerCompaniesTable | Any Lightning Page. |
| INTENTIVE Insights Canvas App | INTENTIVECanvasApp | Any Account Lightning Page. The Canvas App MUST be deployed on an Account Lightning Page. |
We recommend deploying these LWCs in a full-width or 2/3-width page region to allow for sufficient horizontal screen space.
Example: Instructions for deploying the INTENTIVE Insights Canvas App to a new Tab on the Accounts record view.
From an existing Accounts lightning page, click on the Gear icon and select Edit Page.
At the bottom of the left sidebar, there will be a component in the Custom – Managed section called “INTENTIVECanvasApp”. Add this to the location on the Account Lightning Record Page where you would like the component to be displayed.
For example, you could add a tab called “INTENTIVE Insights” and add the component there, as shown in the screenshot below. Save and Activate on specific app(s) as needed.
Add a Tab by clicking on the component with Tabs. Then in the right-hand column, click on Add Tab.
Note that the INTENTIVE Insights component must be deployed on an Account Lightning Record Page, as it provides the insights for the Account context that it is deployed on.
For more information about managing Salesforce Lightning Pages, please see the Lightning App Builder Salesforce Documentation.
If you have questions or need help setting up the integration, please contact your Customer Success representative or email intentive-support@netline.com. We are here to help!